
How to Photograph in the Arctic
Dec 24
A guide to above and underwater photography in the Arctic
By Casper Douma
Introduction
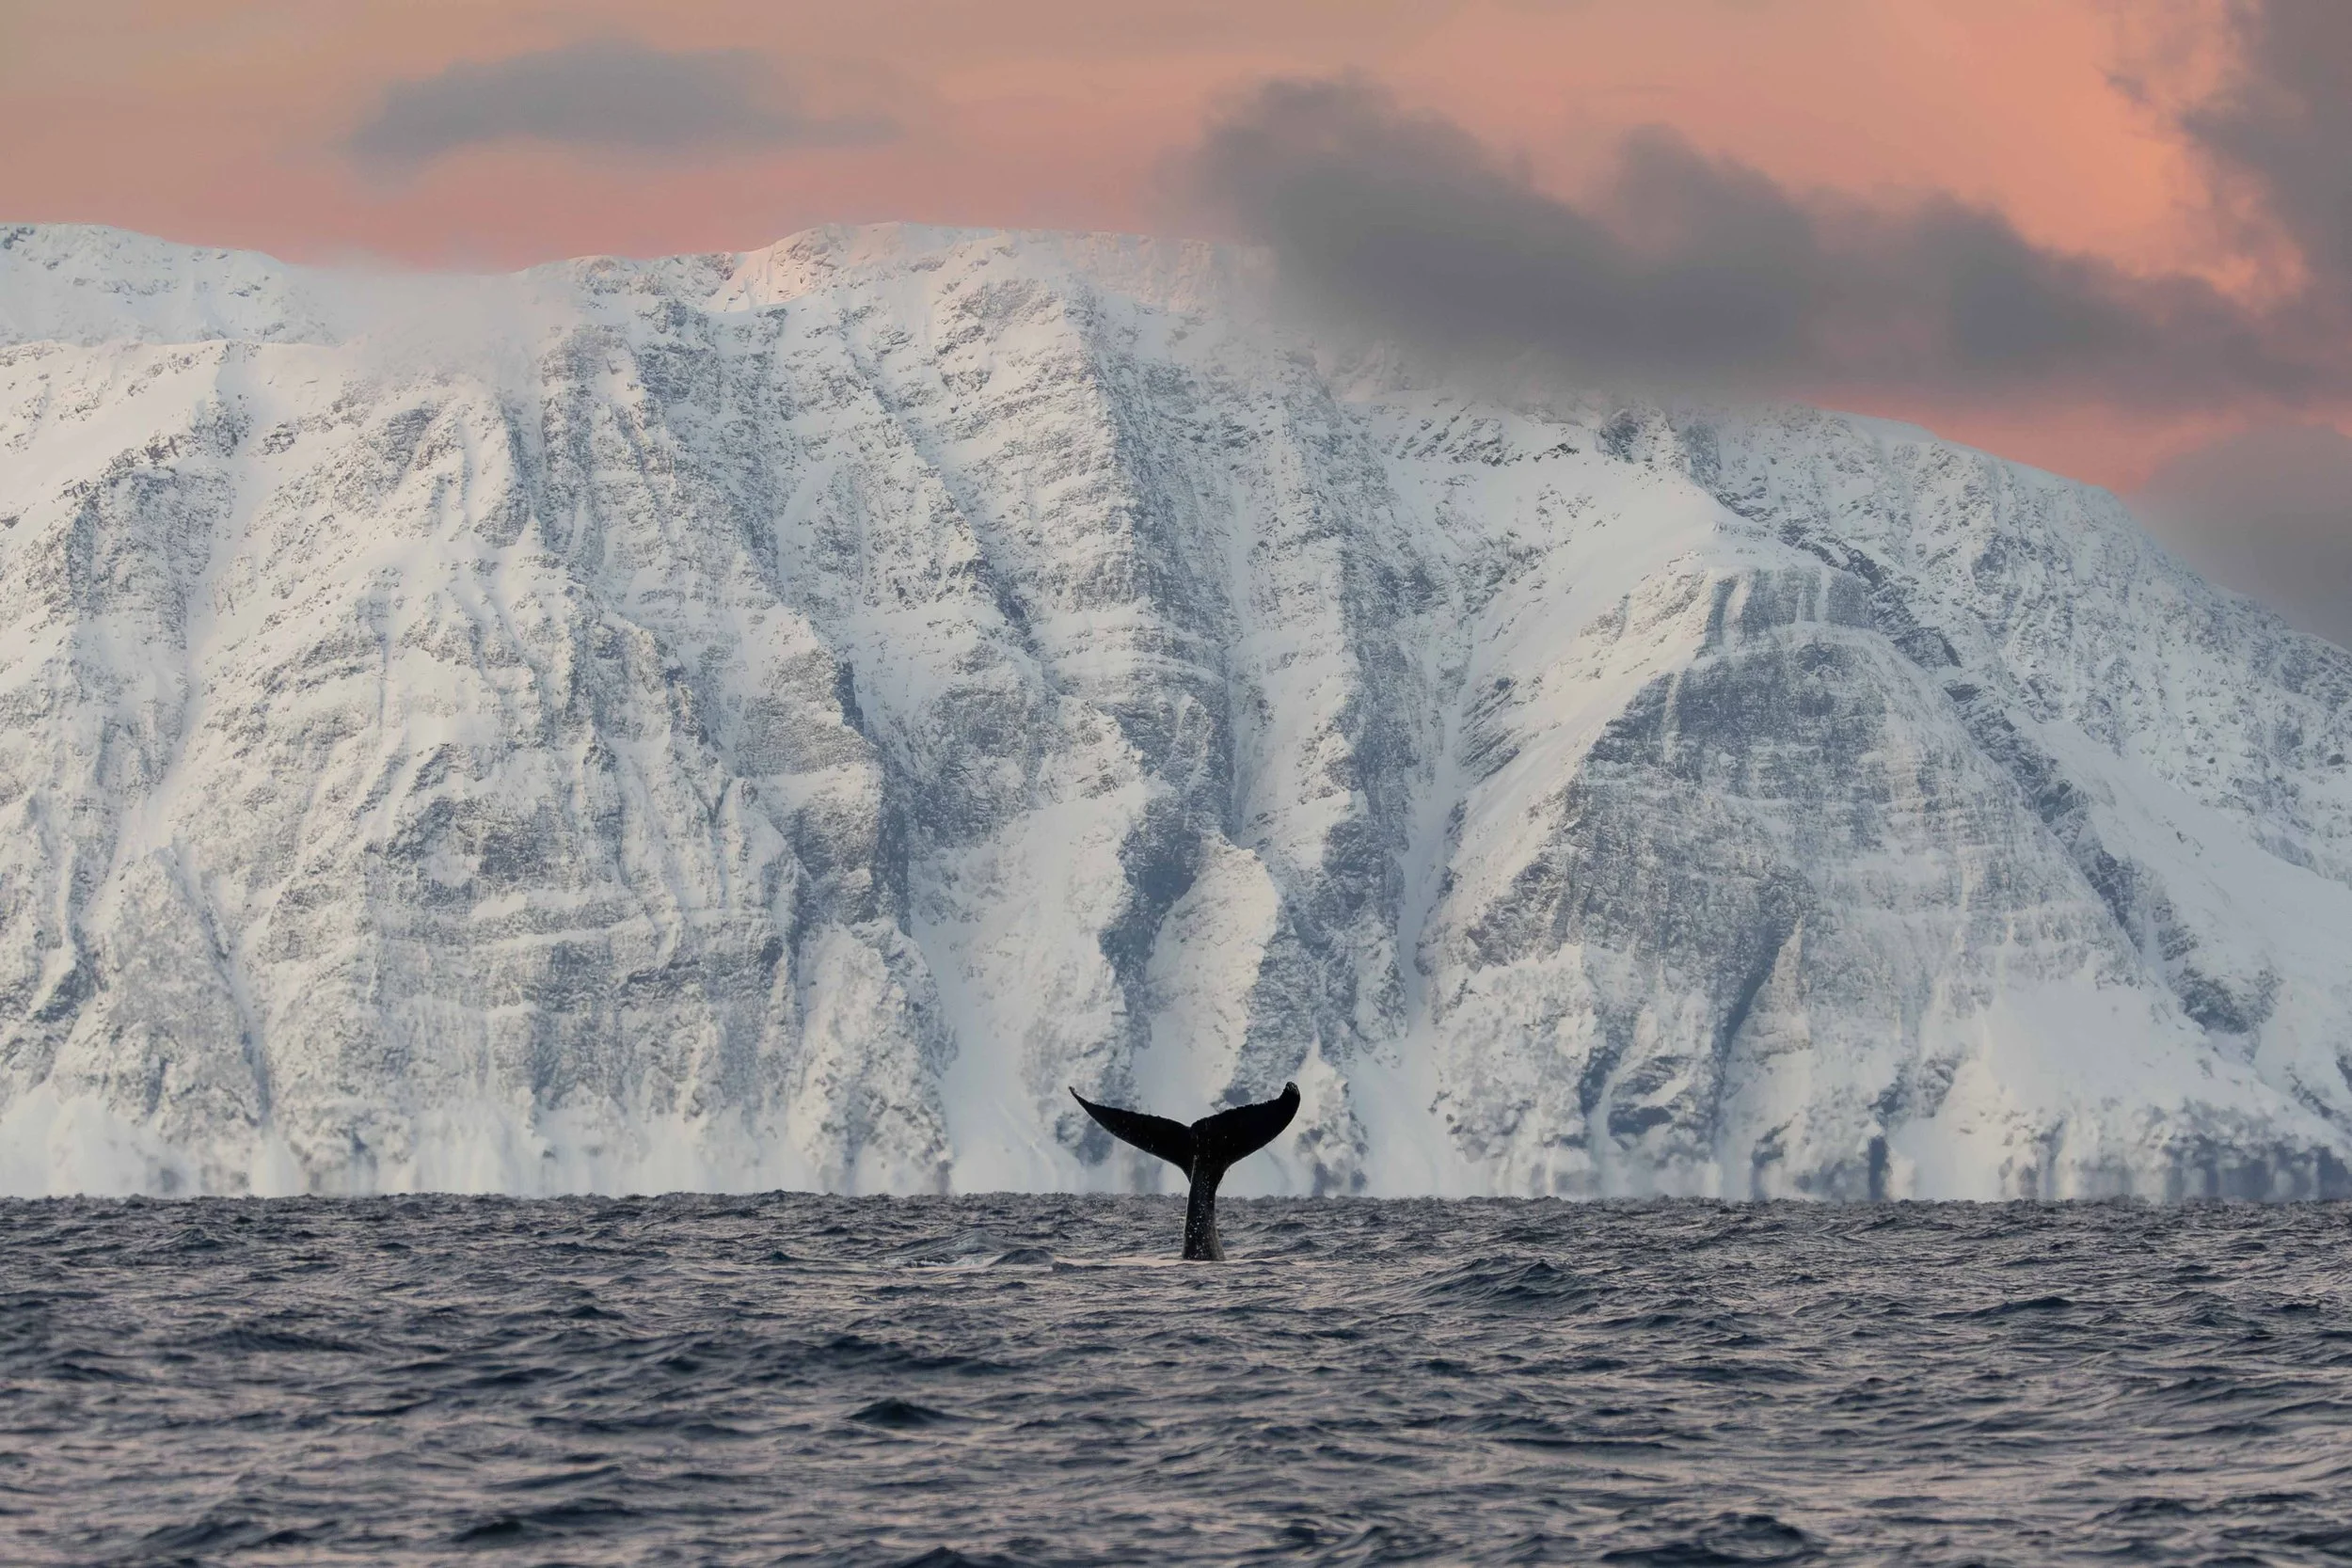
The Arctic is one of the most awe-inspiring regions on Earth — from dancing northern lights above frozen fjords to orcas gliding beneath the ice.
Photographing in such extreme conditions demands technical skill, preparation, and deep respect for nature.
1 – Understanding the environment
Temperatures range from +5 °C to –25 °C.
Light changes fast: golden daylight, blue hour, polar night.
Snow, ice, condensation, and wind affect both exposure and gear.
Weather dictates composition and safety.
Tip: plan your shoot with Windy, Clear Outside, or Aurora Forecast. Also YR is a good app.
2 – Above-water equipment
Camera & lenses
Canon R3 / R5, Sony A9 III, Nikon Z8 → fast autofocus and wide dynamic range.
Lenses:
14–35 mm wide-angle for landscapes & aurora.
70–200 mm for wildlife.
24 mm f/1.4 for aurora light.
Make sure you’ve got the biggest aperture possible. 1.4, 1.8 and 2.8 are great!
3 - Accessories
Carbon tripod with spikes.
Remote shutter or interval timer.
Extra batteries (keep warm with hand warmers)
4 – Underwater equipment
Nauticam or SeaFrogs housing with dome port.
Leak detection system and anti-fog pads.
Dual strobe arms (Inon, Sea&Sea, Godox).
Red filter or white-balance card.
DJI Action 6 (good in low-light situations)
5 – Clothing & protection
Above water:
Base layer – merino wool
Mid layer – fleece or down
Outer shell – wind & waterproof
Liner glove + insulated over-glove
Underwater:
Dry suit with thermal undersuit.
Hand & Foot warmers
Double socks
The more thin layers the better
6 – Exposure in extreme cold
Cold affects sensor and battery life → keep camera in bag between temperature changes.
Use a handwarmer on your lens
Avoid condensation by letting gear acclimatize in a sealed bag.
Use manual exposure in snow (snow often tricks your meter).
Starting points:
Landscape f/8 – 1/500 s – ISO 200
Aurora f/2.8 – 10–20 s – ISO 1600–8000
Make sure you’ve got the biggest aperture possible. 1.4, 1.8 and 2.8 are great!
7 – Northern Lights photography
Sturdy tripod and manual focus on infinity (bright star in live-view).
ISO 1600–8000 | f/1.8–2.8 | 1–8 seconds shutter.
White balance 3500–4000 K for natural greens.
Always shoot RAW.
Pro tip: use a headlamp for foreground light painting.
Safety: never snorkel alone; check dry suit seals. Make sure you go on an organized trip.
8– Workflow & post-production
Color correction: use LUTs or profiles for Arctic light or D-Log footage.
Exposure: lift under-exposed snow and adjust green aurora tones.
Storage: keep SD cards dry with silica gel.
Back-up: two drives — one SSD + one cloud copy.
The Arctic is fragile
Move slowly, avoid disturbing wildlife, and leave no trace.
Photograph with respect — and let your images tell the story of a world worth protecting.
If you need help or you want more info? Send me an email